browse Business tips
explore my work
Categories
Small business and website tips, branding advice, client projects, and occasional tips that help you build a life you love while growing a more joy-filled business.
Join the Email Community
Expect small business, branding, and website tips, client website and brand projects, and occasional recommendations that help you build a life you love while growing your business — one filled with joy.
WELCOME TO THE WEB DESIGN + BRANDING BLOG FROM ARTISAN KIND
Your brand photos are your connection to your audience.
They hold so much power when it comes to telling your story and creating a memorable, consistent identity.
Hiring a brand photographer can take away a lot of the stress of planning, taking, and editing effective brand photos, but not everyone is ready to make that investment. And that’s okay!
Today I’ll be sharing a conversation I had with brand photographer, Lauren Mudrock along with her top tips for DIY-ing your own brand photos. Lauren has been in business since 2015. She has helped international best-selling authors, grammy-level musicians, and international coaches build a more confident, eye-catching online presence. (Trust me, you’re not going to want to miss out on this!)

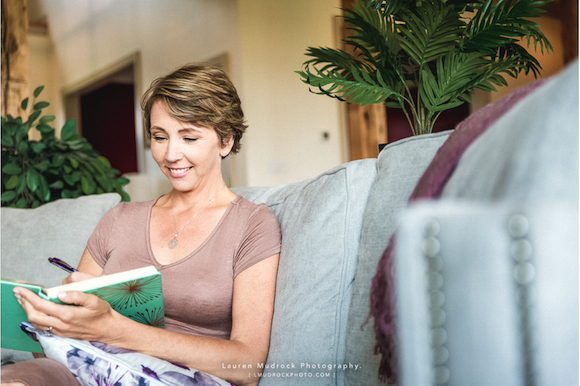
The Importance Of Brand Photo
Lauren described four main reasons your brand photos are important to the growth and success of your business:
- They shape your story and make you irresistibly relatable.
- They connect your viewer with the emotional experience of your services.
- They quiet busy minds and encourage your audience to listen to you.
- They are memorable and help you build credibility (even if you’re just starting out).
By including personal elements in your brand photos you can instantly form a connection with your audience. They have to know, like, and trust you before they buy from you after all. For example, say you’re a big fan of live music:
“You wear a Black Keys shirt in your photos, your audience might think, “Hey! I love the Black Keys, too! I like this lady already.” Boom. Instantly best friends in their mind.”
As Lauren put’s it, no matter what you’re selling, buying is an emotional journey. Why? Because purchases aren’t always made based on need. Lauren used Marie Forleo’s experience of buying a Moroccan rug as an example. The seller said to her: “Nobody needs a Moroccan rug. You don’t buy a rug with your head, you buy it with your heart.”
Your brand photos connect your audience to the heart of your business.
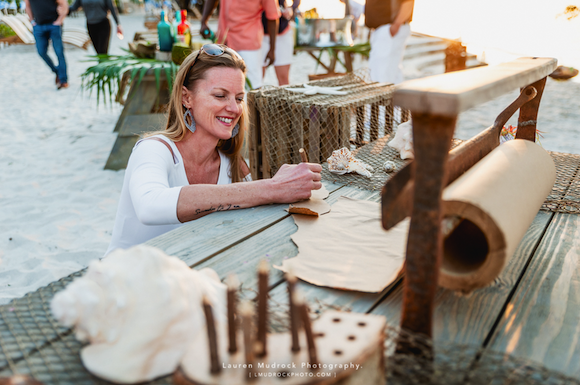
Lauren explained that your brand photos draw your audience in the same way an eye-catching magazine image does. If that glossy beautiful image encourages readers to investigate the article more, think about what quality brand photos can do to draw your audience into your message!
Finally, photos are memorable. In fact people only retain about 10% of the information they see, but when a photo is attached to that information they retain about 65% of it. (That’s a huge difference). Brand photos ensure your message is being heard and remembered.
How To Prepare Your Own Shoot
First and foremost you have to understand your brand and what it stands for. Why does it exist? Who does it serve?
“Every element in your photos should tell that story and drive the plot of your brand.”

You’ll tell this story through various elements such as color, location, props and more. (we’ll get into this later).
Lauren and I discussed the importance of planning your shoot around what your web or graphic designer will need. “Think with the end in mind,” she said. Where will these photos be used? To have adequate images for your website and social media you’ll want to plan to shoot a variety of horizontal, vertical, closeups, and wide shots. They need to be easily cropped so they can be used for banners and hero sections of your site.
“Something else you’ll want to consider is clutter. You’ll want to clear all pieces of junk out of the area you’re shooting in & make sure the place looks more like a movie set.”
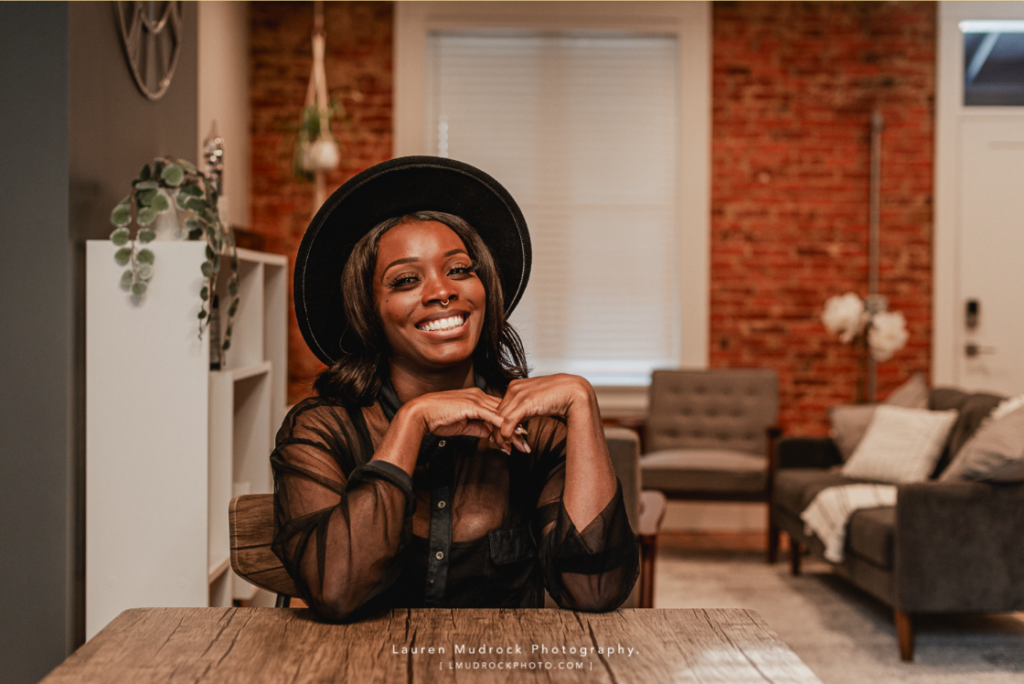
This will lend itself to more professional images.
You’ll also want to invest in photo editing software, Lauren explained. Adobe Lightroom can be purchased for around $10 a month and it will go a long way to creating a professional look. Some web designers can also help you lightly edit to help enhance your images so be sure to ask yours!
Basic Tools To Have For Your Shoot
Lauren broke down exactly what you’ll need to take your own brand photos (and no, you don’t have to have all the fancy equipment).
Here’s what you’ll need:
- Camera or an Iphone
- A tripod (with a cell phone holder if you’re using your phone)
- Props that highlight the work you do and complement your brand colors
(We’ll dive more into choosing props down below)
- A white foam board to bounce light around and brighten up your face.
“ANY photo is better than NO photo, even if it’s a selfie you took against a plain wall. Don’t wait until everything’s perfect to get started.”
What To Wear For Your Brand Photos
One misconception when taking brand photos is that you should wear your brand colors. Lauren explain it like this:
“Your outfit colors should complement your brand colors, not always be 100% your brand colors. If overdone, it can become cheesy.”
With that being said, it’s good to stick with simple colors and simple patterns. That’s not to say you can’t push the boundaries and be a bit edgier in your colors if that’s what your brand is about.
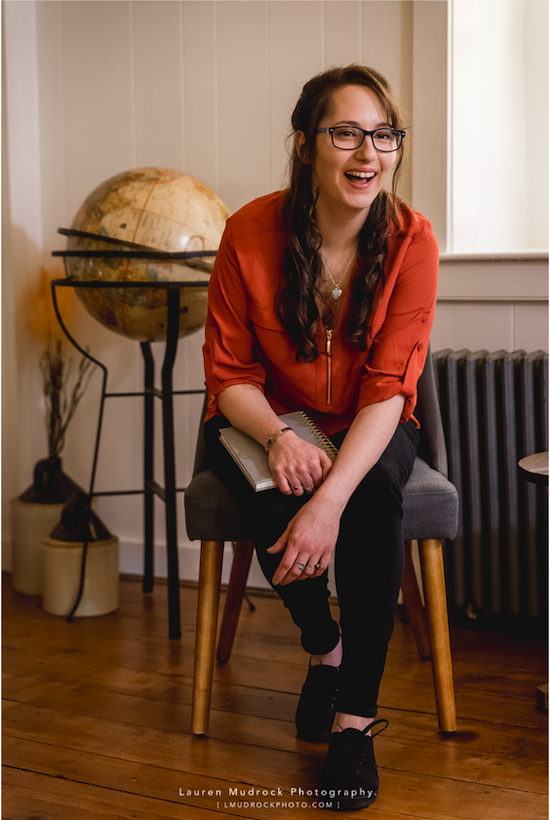
Lauren used this analogy:
“You base a room off of a 5-color color palette, right? But not every single piece of furniture or decoration is going to match those colors exactly. As long as they complement your main colors, it’ll flow.”
Another good rule of thumb I like to share is that if you don’t see yourself wearing an outfit again, don’t wear it for your brand photos. It’s better to wear something that feels like you and something a client would see you wear.
Looking for more guidance on what to wear, be sure to Lauren’s video:
6 Tips That Will Help You Figure Out What to Wear.
How To Incorporate Props
Next, you’ll want to consider the props you’re going to use in your DIY brand photos.
Don’t limit yourself to a laptop and a coffee mug. You’ll want to sprinkle in personal touches that showcase the human behind the brand.
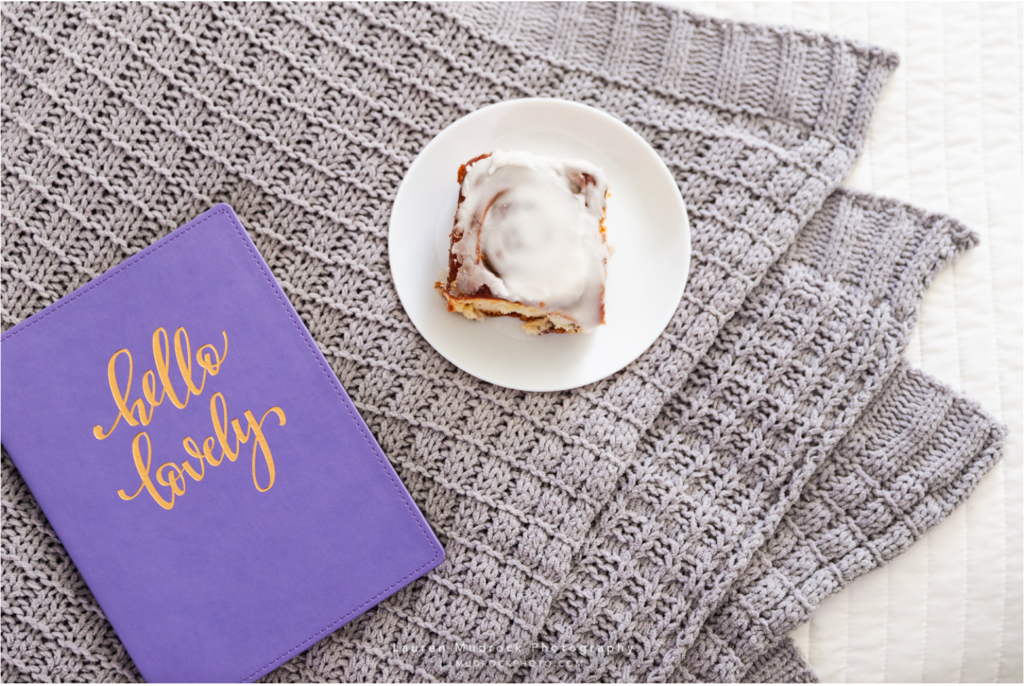
Lauren recommends selecting props first that show what you do and the tools you use to do it.
If you’re a yoga instructor that might mean using:
- A yoga mat
- Yoga blocks
- Meditation tools
- Mock clients, aka: people who can stand in as your clients for photos
If you’re a coach you could include worksheets you use with clients or a journal for reflecting. An artist could use canvases and paint brushes.
“Add props and decor that show off your personality and interests. Things like keepsakes, mugs, instruments. etc.”
Maybe you’ll include your favorite book on the desk (like the stack of Harry Potter books you’ll see in my brand photos), a bouquet of your favorite flowers, a reference to your past (like ballet shoes if you were a dancer), or maybe you’ll have your pet sneak in for a few shots.
The big thing to remember is not to use props for filler, but to use props that tell a story of what you do, why you do it, and who you are as a person that makes you relatable.
How To Pose Yourself
Posing can feel tricky even when you are working with a photographer (though a good one will quickly help you relax and feel confident in front of the camera).
To find what works for you you’ll have to experiment a little. “Get into a pose that looks and feels like you, and then make those little adjustments. Having a mirror around helps a ton,” Lauren said!
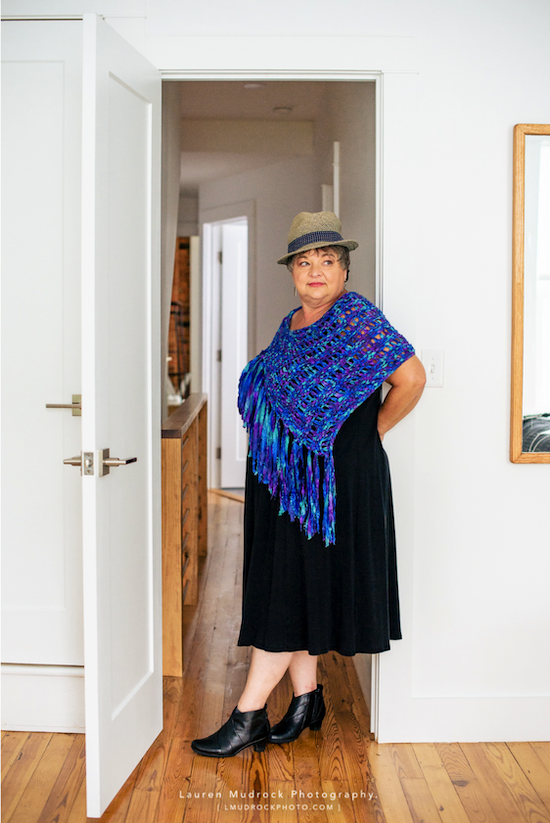
For seated posing. Lauren referenced fashion photographer Lindsay Adler’s strategy. When you’re in a seated pose it’s best to imagine a string connected to the top of your head, pulling you to the ceiling. It helps keep your shoulders back and prevent slouching.
Posing for women:
A good rule of thumb is to show off your curves by facing the camera and turning your body about 45 degrees away from it.
“ If your arms are glued to your sides, slide your hands up towards your hips and pull your elbows slightly away from your waist. This’ll keep them from looking larger than they actually are.
Posing for men:
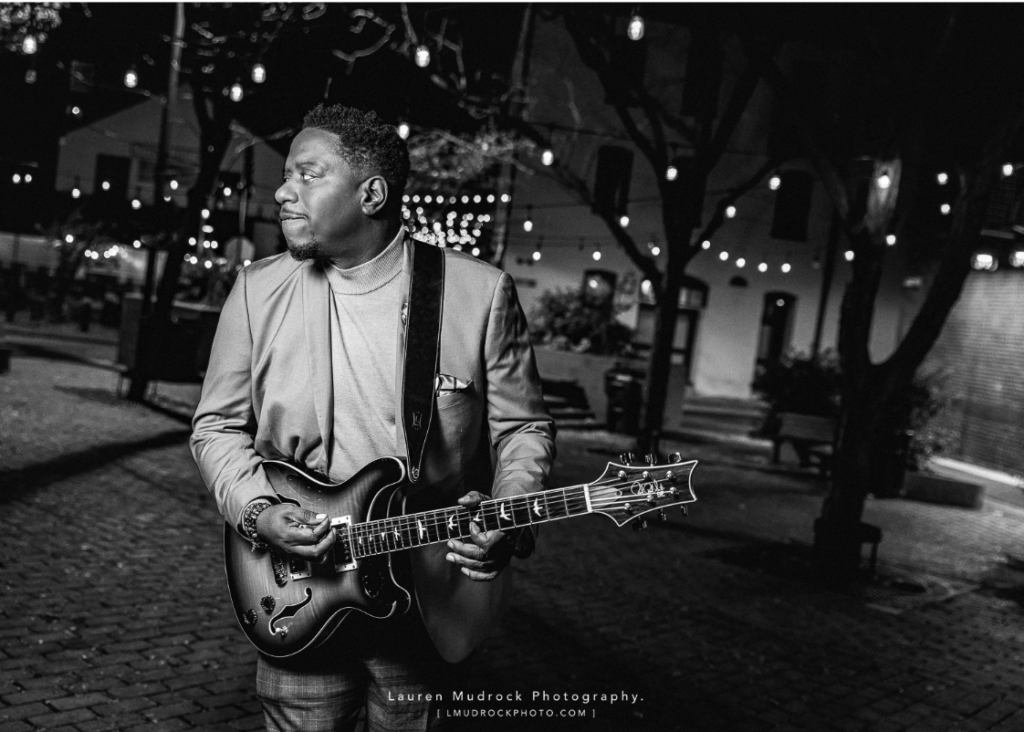
Lauren suggests a flattering pose where you stand straight and lean in towards the camera. towards the camera. This will help broaden your shoulders and minimize your stomach area for a nice “Y” shape.
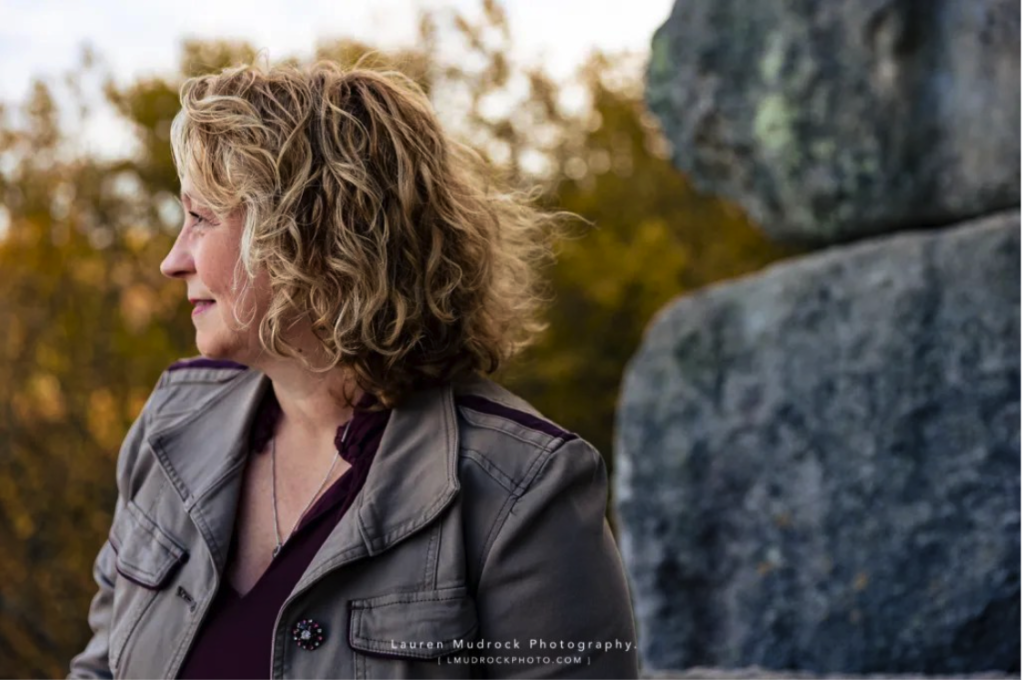
As a brand and web designer, one tip I always like to share with clients is to not always have your face towards the camera. We definitely want quality headshots, but when it comes to adding photos to your site, having a variety will do wonders. Think about images with the side of your face, a close up of your hands, or photos of just your props and setting.
How To Use Lighting in Brand Photos
Whether you’re shooting indoors or outdoors, “be where the natural light is,” Lauren emphasized.
She recommends standing in the shadows of the setting. Standing next to the light source, not directly in front of it will help you avoid squinting in harsh light and it will improve the appearance of blemishes.
Outdoor shooting:
The best time to shoot is right after or right before sunset. This time called “Golden hour” is truly a photographer’s best friend.
“Golden Hour’s going to make everything look warmer and more beautiful. Plus you’ll avoid racoon-eye shadows that can be difficult to avoid in the middle of the day.”
You can also shoot early in the morning if the lighting then suits your brand. Regardless it’s best to avoid middle of the day lighting.
Indoor Shooting:
Staying by a window will give you the best outcome. “Try to avoid artificial indoor lighting,” Lauren explained. “It’s a culprit for raccoon-eye shadows and tends to make colors look weird.”
Be sure you don’t overlook your lighting situation, lighting can change the entire vibe of your brand photos! If this is an area you’re worried about overthinking, it may be in your best interest to work with a professional brand photographer.
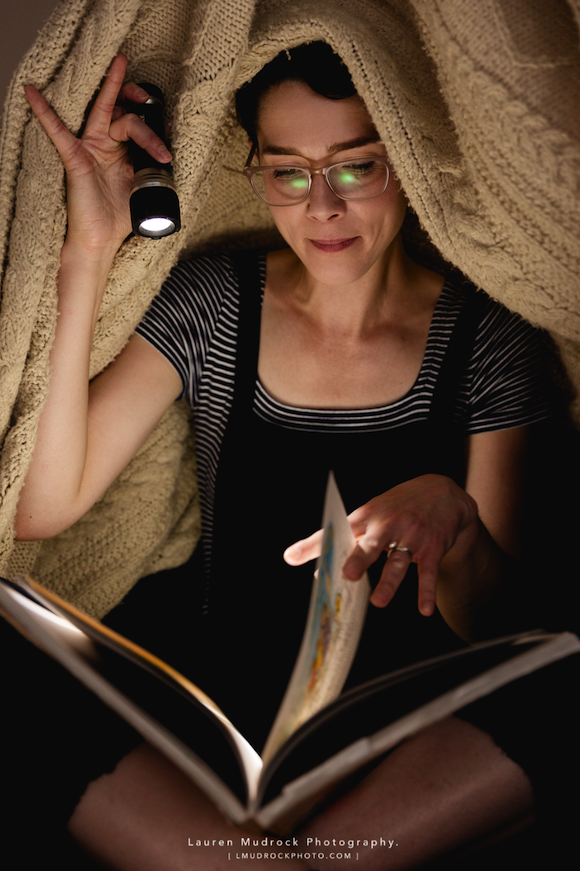
Create Variety In Your Photos
We’ve touched on this concept a few times (because it is incredibly important). To make the most of your brand photos, you’ll want to create a variety.
Lauren explained that variety in the look of your photos can mean using various:
- Angles
- Outfits
- Close-ups
- And wide shots that create more white space.
This will give you more flexibility when it comes to cropping and adding photos to your website and social media.
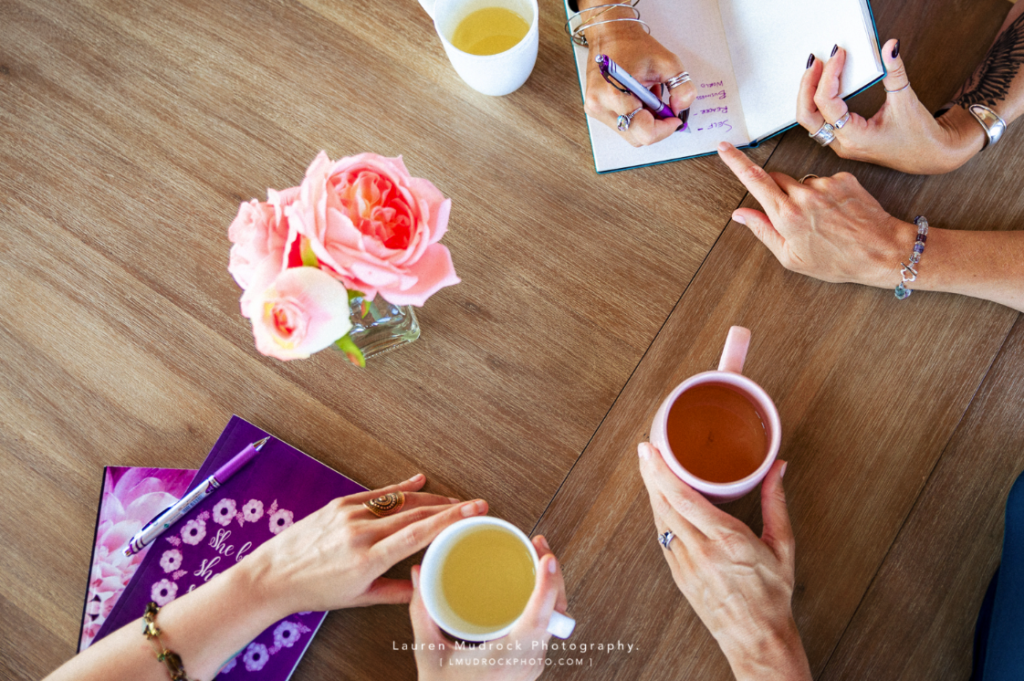
She said that a variety in content means showing:
- What you do: Your business and the service you provide.
- How you do it: The behind-the-scenes, juicy details your audience wants to be part of. Your tools, your process, your finished work.
- Why do you do it: What keeps you going, what are your personal motivations that your clients will relate to?
- Who you do it for: Who are your clients? What is the transformation you’re bringing to clients that matters to you?
- Where you do it: The setting or “scenes” of your brand photos can be rooms where you work, a venue that ties into your brand, outdoor spaces etc. (Think studios, coffee shops, the beach and more…the world is your canvas)
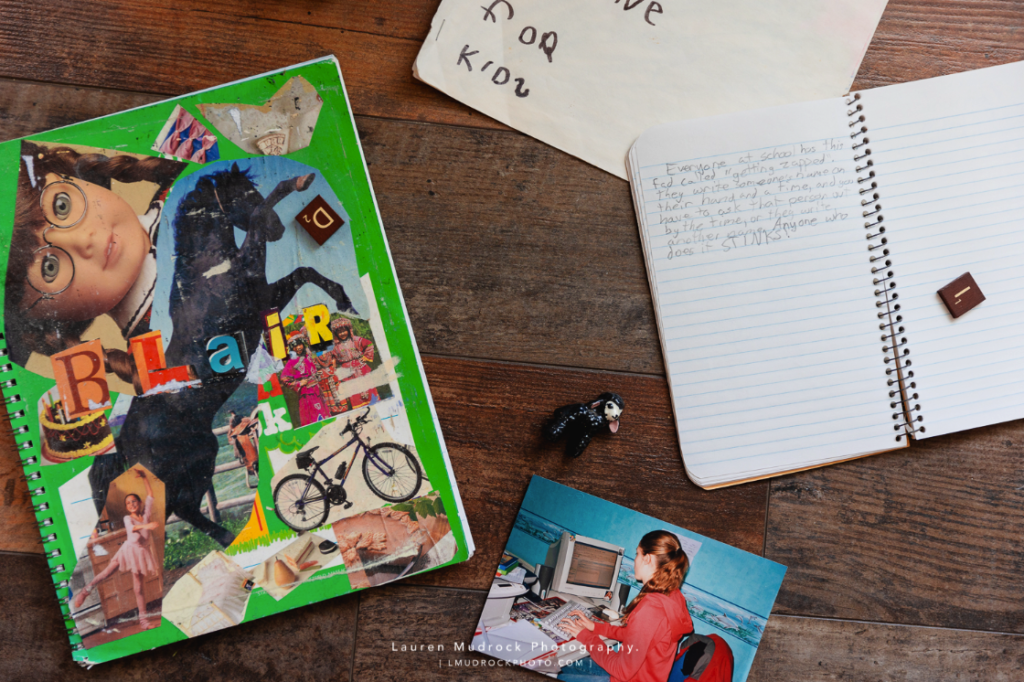
Investing In A Photographer Down The Road? Here’s What You Should Look For.
At the end of our conversation Lauren shared with me that each of these tips are suggestions, not requirements.
While the steps listed above can seem overwhelming you can absolutely take your own brand photos and should if that’s what fits your stage in business! Some photos are better than no photos.
If you are at the stage where investing in a photographer seems like the best option here’s what lauren recommends you look out for:
Go with someone who specializes in brand photography.
This is a niche that calls for someone who knows what needs to be said and how to say it through photos. “Don’t settle for just any photographer,” she explained “I’ve had clients who have spent over $10k in previous photo sessions for their businesses and could only use 2 images because of this.
Find someone you vibe well with (“You’ll be collaborating with them for hours.”)
It’s important to feel comfortable and like yourself in front of the camera. Selecting a photographer that makes you feel that way will enhance your whole experience and end result.
Work with an expert.
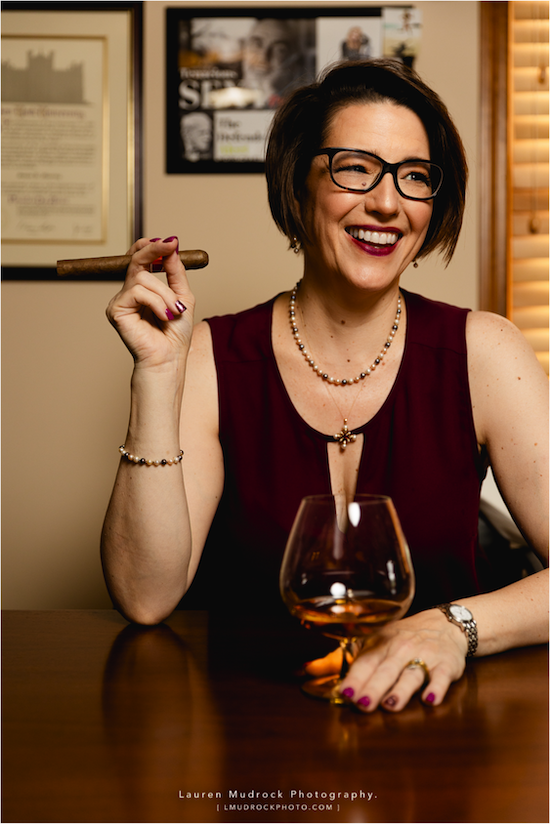
“It’s not your job to oversee every detail and to know what’s going on,” she said. “Make sure your brand photographer walks you through exactly what you can expect.” After all, the benefit of hiring a professional is eliminating the time and stress of doing it all yourself.
Whether you’re going with DIY brand photos or hiring a professional, you’ll want to feel confident in front of the camera (easier said than done sometimes).
Be sure to grab Lauren’s free guide:
The best way to tackle your brand photos
—whether you’re DIYing them or hiring someone else—is to work backwards. Start with the end in mind. It’ll make planning a no-brainer.
To help you get started, you can grab Lauren’s guide on 30+ ways to use your brand photos (with more best practices) here: 30+ Ways to Use Your Brand Photos for Highest Impact & Conversion.
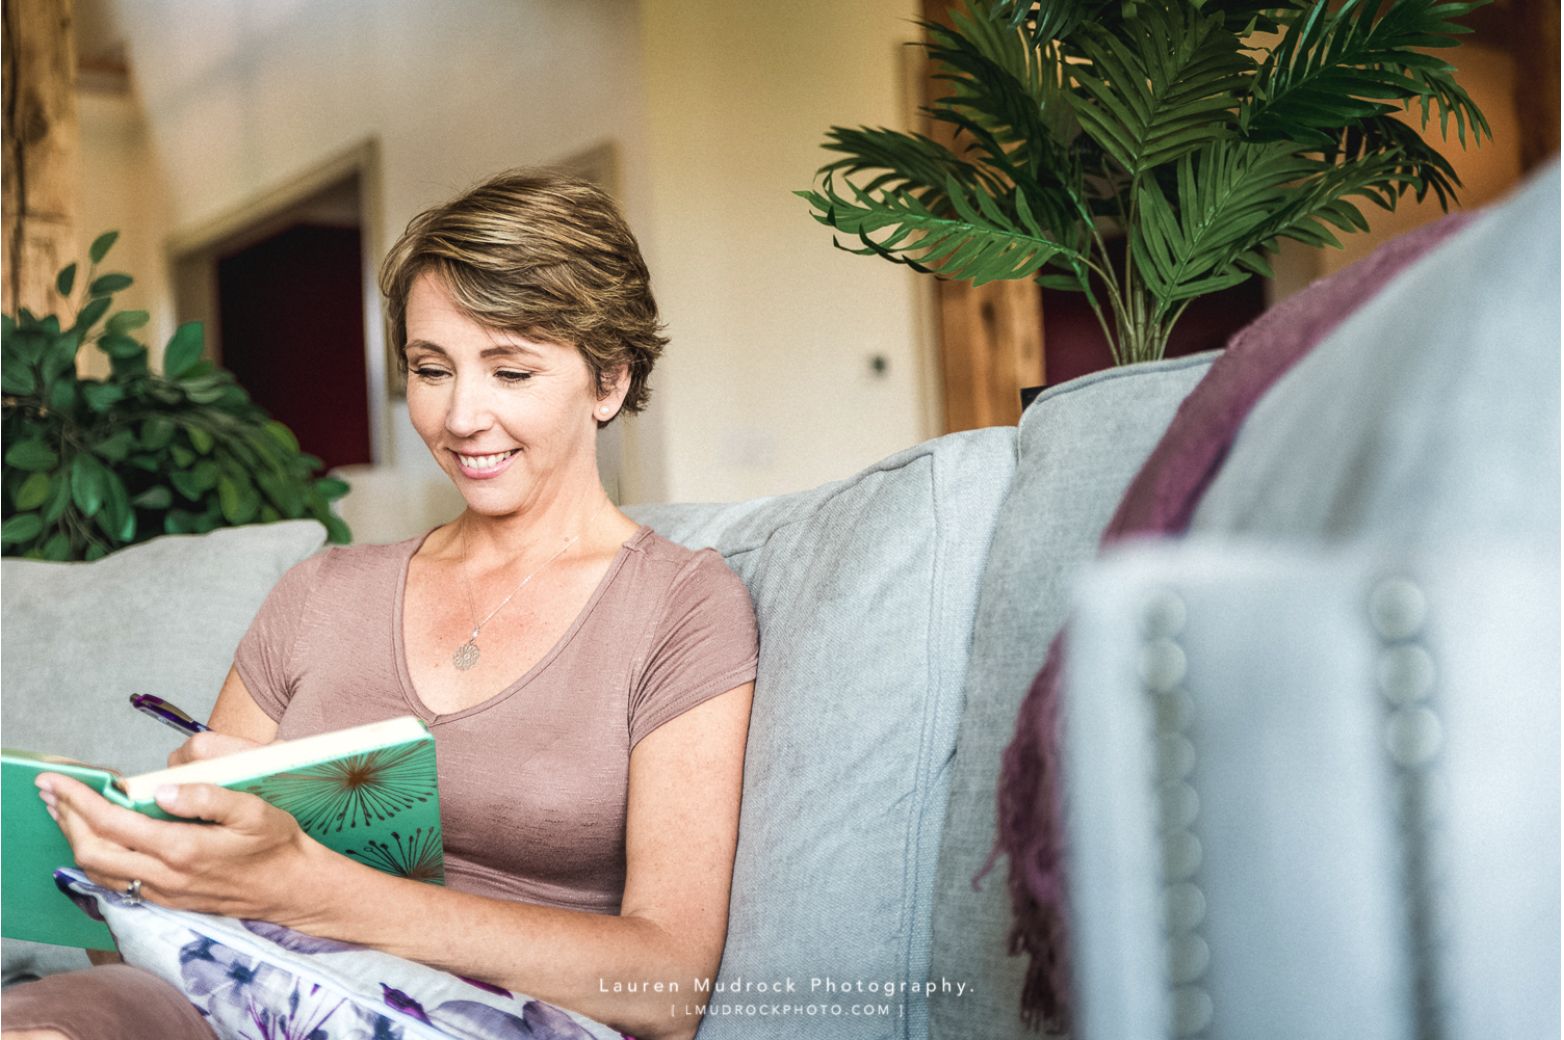
All photography by Lauren Mudrock

Aubre Walther is the founder of Artisan Kind, a website and brand design studio specializing in Showit websites that feel true to who you are. As an official Showit Design Partner, she helps service-based businesses like coaches, wellness professionals, and consultants build websites that attract right-fit clients through authentic design. Working from her 100% solar-powered studio in Eau Claire, Wisconsin, she creates clean, intentional websites that make potential clients feel an instant sense of connection. When she’s not designing, you’ll find Aubre tending to her cats and celebrating the small wins.
Explore Showit templates and design services at artisankind.com.
Small business and website tips, branding advice, client projects, and occasional tips that help you build a life you love while growing a more joy-filled business.
Join the Email Community
Leave a Reply Cancel reply
Download my step-by-step guide to crafting an enticing lead magnet so you can attract, nurture, and convert an interested audience into ideal clients.
Lead your audience from loyal follower to interested audience member to future client.
Let's create a website you'll be excited to send them to.
YOUR NEW WEBSITE + BRAND AWAITS
Let’s invite them in, so they can experience the joy of working with you.
Are you ready for a website that shares your magic with the world?
proudly designed in my 100% solar powered home studio
ARTISAN KIND LLC © 2024
proudly designed in my 100% solar-powered design studio | ARTISAN KIND LLC © 2025
Head Home
Meet your Designer
View Portfolio
Get In Touch
Book Discovery Call
Explore All Services
Custom Webs Design
Semi-Custom Web Design
Custom Brand Design
Shop Website Templates
Browse Favorite Resources
Free Website Assessment
Explore the Blog
Read Terms & Privacy Policy
Find Your Way Around
Small business and website tips, branding advice, client projects, and occasional recommendations that help you build a life you love while growing a more joy-filled business.
Email Community
join the
Every element of my website, copywriting, and designs has been thoughtfully crafted by real human hands and creative minds, ensuring your experience is personal, intentional, and authentically human!
An authentically human experience
Aubre Walther is a Showit Designer based in Eau Claire, WI, serving clients worldwide from a 100% solar-powered home design studio.
Creating websites & brands that make your potential clients feel an instant sense of connection and trust.
[…] and help deliver your message (whatever that may be) to your ideal clients. You can either DIY your own brand photos or invest in a professional photographer who can help you tell a powerful story through […]
[…] I highly recommend hiring a professional to help you plan and execute unique band photos there are certainly ways to DIY. If you are skilled with a camera, know a thing or two about lighting, angles, and editing (or have […]
[…] one line bio and a brand photo of yourself (you might make this short one-liner a bit more personable or […]